Just bought your first stream package and have no clue how to install it? No fear! In this guide, you will learn how to install your package on StreamElements from the very beginning. Follow along with our instructional video or read the text guide below.
Creating a new overlay
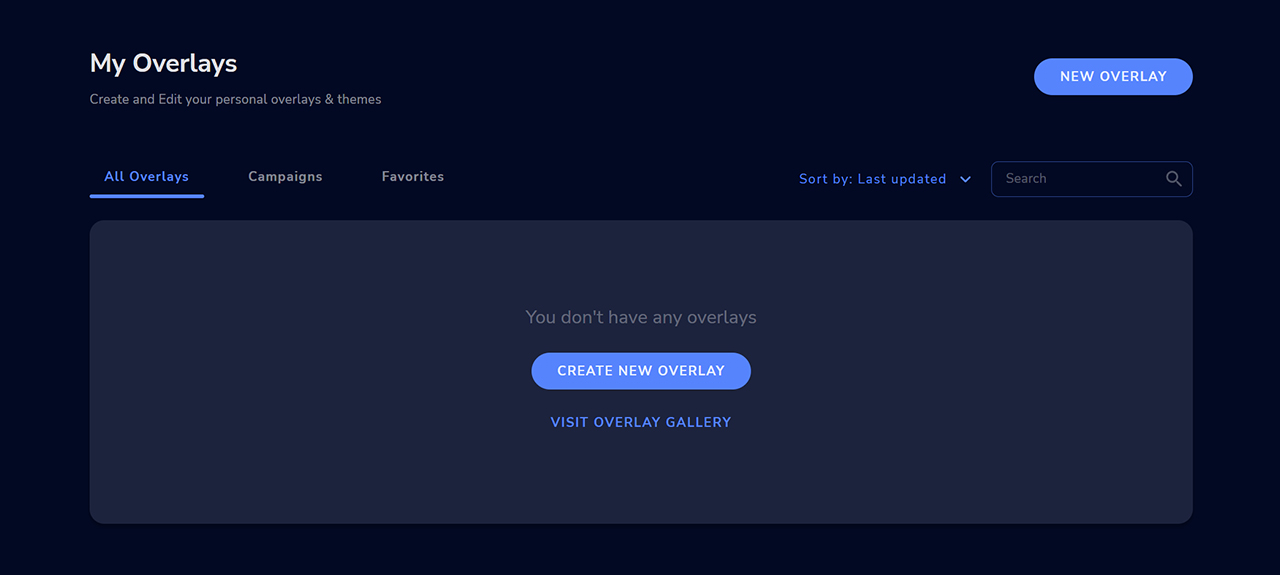
- Press the New Overlay button on the top right.
- Keep the desired resolution as 1080p and press Save.
Importing the Overlay (Facecam, Bar Overlay & Info Labels)
- Press the Plus icon on the bottom left and navigate to Static / Custom > Video (or Image).
- Upload the Overlay file and then press Submit.
- Under Settings press Change Video and select the Overlay.
- To change the size of the Overlay drag the corner of the blue box.
- Once the size has been adjusted, reposition the Overlay to your desired location.
Adding your Username
- Press the Plus icon on the bottom left and navigate to Static / Custom > Text.
- You can change the text on the left side menu under the Settings tab.
- Under Text settings you can adjust the font, font size, drop shadow etc.
- Once edited, reposition the text onto the Overlay.
Adding Icons
- Press the Plus icon on the bottom left and navigate to Static / Custom > Image.
- Upload your Icon file and then press Submit.
- Resize and reposition this onto the Overlay.
Adding Stream Labels
- Press the Plus icon on the bottom left and navigate to Labels and select the event you wish to display.
- Under Text settings you can adjust the font, font size, drop shadow etc.
- Once edited, reposition the text onto the Overlay besides the Icon.
Adding the Overlay to OBS Studio
Once you’ve created your overlays, you need to add them to OBS Studio.
- In the StreamElements editor press the Copy overlay URL located at the top bar.
- Head over to OBS Studio and add a Browser source.
- Under URL paste the Overlay URL.
- Change the dimensions to 1920 x 1080.